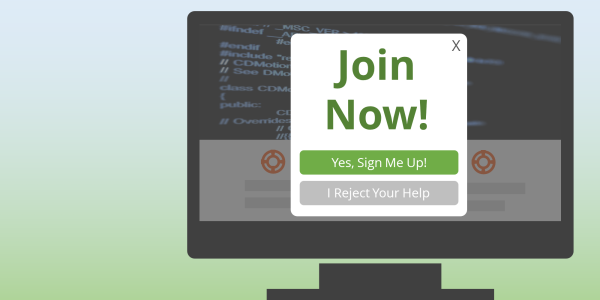
Learn how to create your own custom popup opt in for free in this 4-part tutorial series. Avoid the need for costly plugins or monthly service charges.
You don’t have to spend money on WordPress plugins or monthly subscriptions to have a killer popup opt in form on your website.
In the first lesson, we’ll review the agenda and importance of establishing value of the proposed work for yourself, or for one of your clients.
In the second lesson, we’ll take a look under the hood of the existing PopUp Opt In – Mailchimp’s Subscriber PopUp. We’ll also show you how to use the developer tools to help guide our implementation.
In the third lesson, we’ll design our custom popup opt in. We’ll design the look and feel, the messaging, and the technical preferences.
In the fourth and final lesson, we’ll actually implement the popup opt in we designed, test it, and deploy it.
LESSON #1: Introduction and Consulting Mindset
LESSON #2: Under the Hood of the Existing PopUp Opt In
Links for more information about Developer Tools:
- Introduction to Chrome Developer Tools, Part One
- The Best Feature of Google Chrome You Aren’t Using
- Secretes of the Browser Developer Tools
- Web Development Tutorial: Understanding how to use the Browser Developer Tools
- Google Chrom DevTools Tutorials
LESSON #3: Designing the Custom PopUp Opt In
LESSON #4: Implementing the Custom PopUp Opt In
Conclusion:
Building your own custom popup opt in doesn’t have to be difficult. Plus, it can save you money since you don’t have to buy plugins or pay monthly bills for a popup service.
This 4-part tutorial walks you through the process of conceptualizing, designing, building, and implementing your own custom popup opt in.
Contact us with any questions at all about this if you are trying to build your own popup (contactus@coderlifeline.com). We really love helping other web entrepreneurs and freelancers.
Please share this article with anyone you think could benefit!
